

EDID Programming
This is only needed if you are having compatibility issues after doing the normal setup. Before starting, plug your programming pc into your main monitor using a HDMI cable. The programming pc can be any PC that is capable of reaching the desired resolution/hz you want to achieve (within the limits of what the fuser can output).
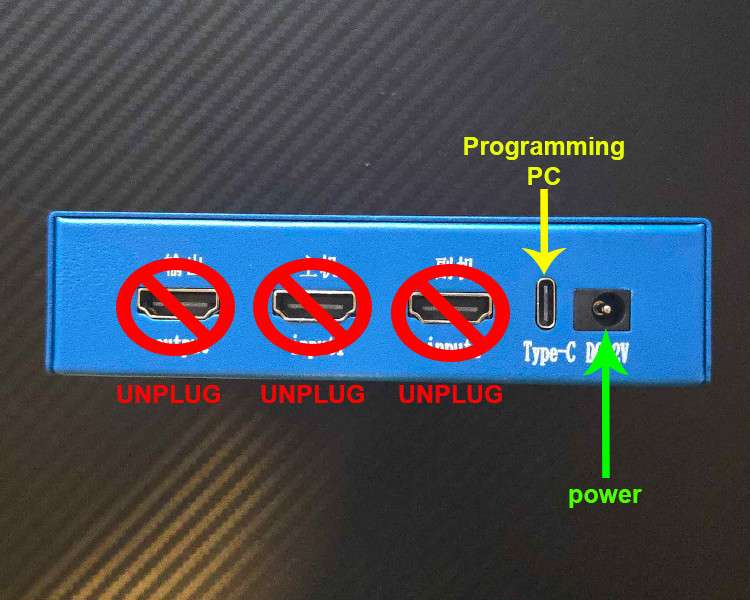
Unplug all HDMI cables from the fuser. Connect the YELLOW Type-C port to your programming PC. Ensure the power cable is connected to the fuser and turn the fuser on using the red power button in the front (not pictured).
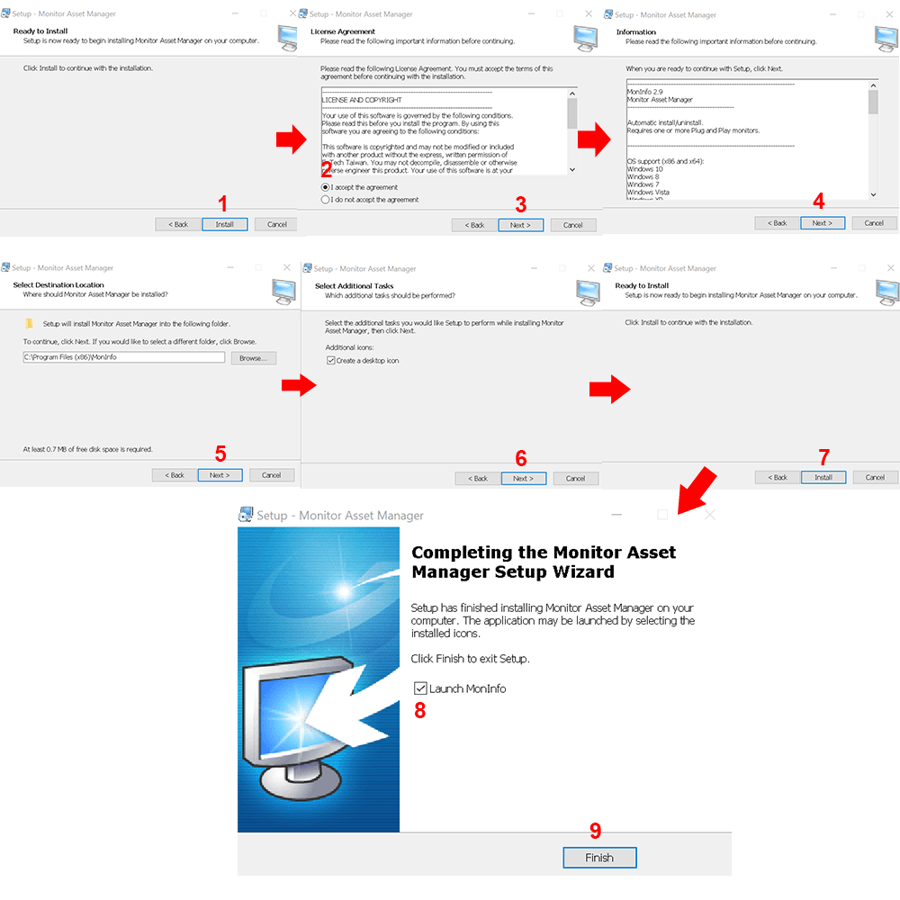
On your programming pc, download and extract the Dichen Programming.zip folder to the desktop. Open the MonitorAssetManager installer.exe and follow the steps above to install MonitorAssetManager.
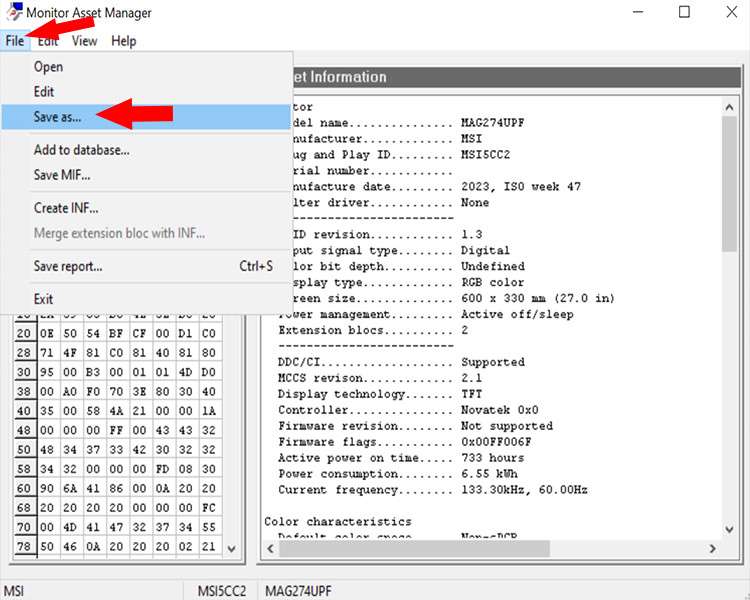
Within Monitor Asset Manager, drop down the file menu and click “Save as…”
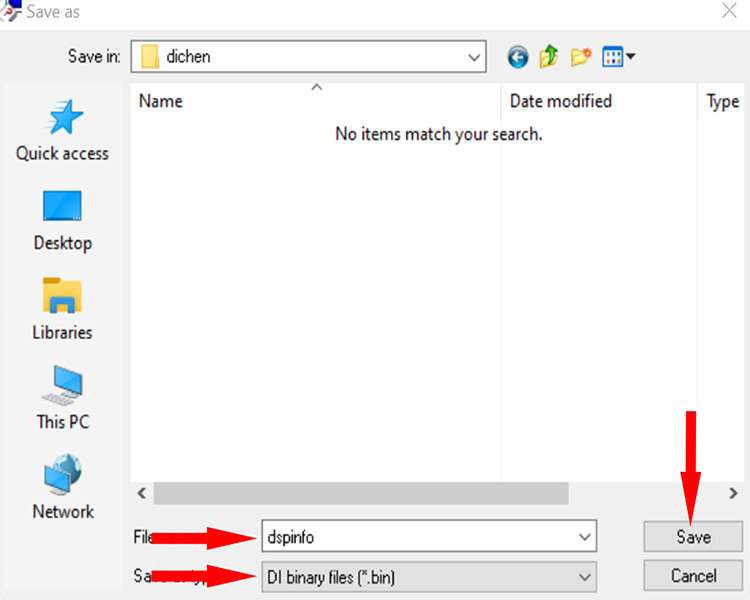
Save the file to the same location you extracted the .zip to (for easy access).
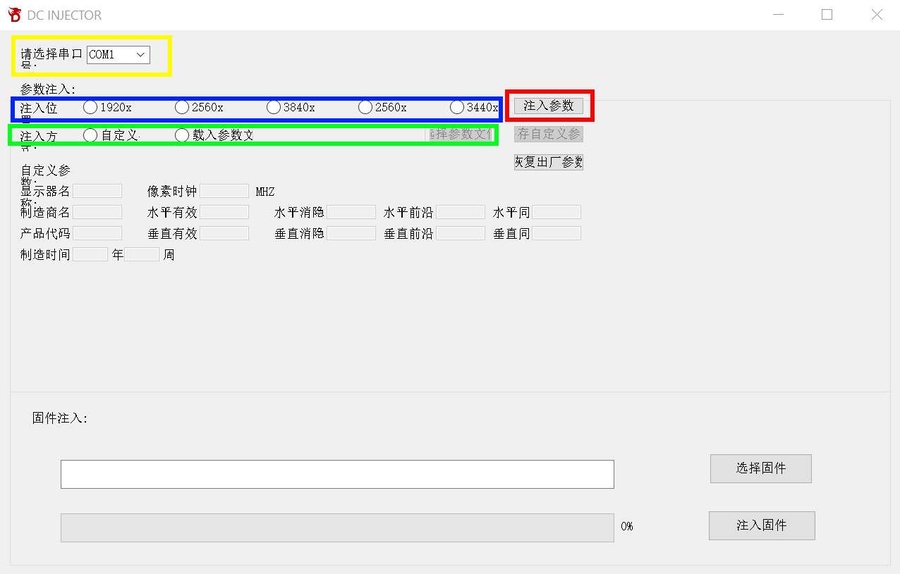
Open the EDID Flash Tool.exe and follow below:
YELLOW: Select the COM port for the dichen fuser, this can be found in device manager under ports (COM).
BLUE: Select your target resolution
Green: Check the radio button the the RIGHT and then click the button that enables after checking the radio button. Locate your monitor file you saved from able and open it in DC Injector.
RED: Click this button last to send the EDID to the fuser.
If the programming is successful, you will get the message above. Otherwise please contact us.
Last updated